

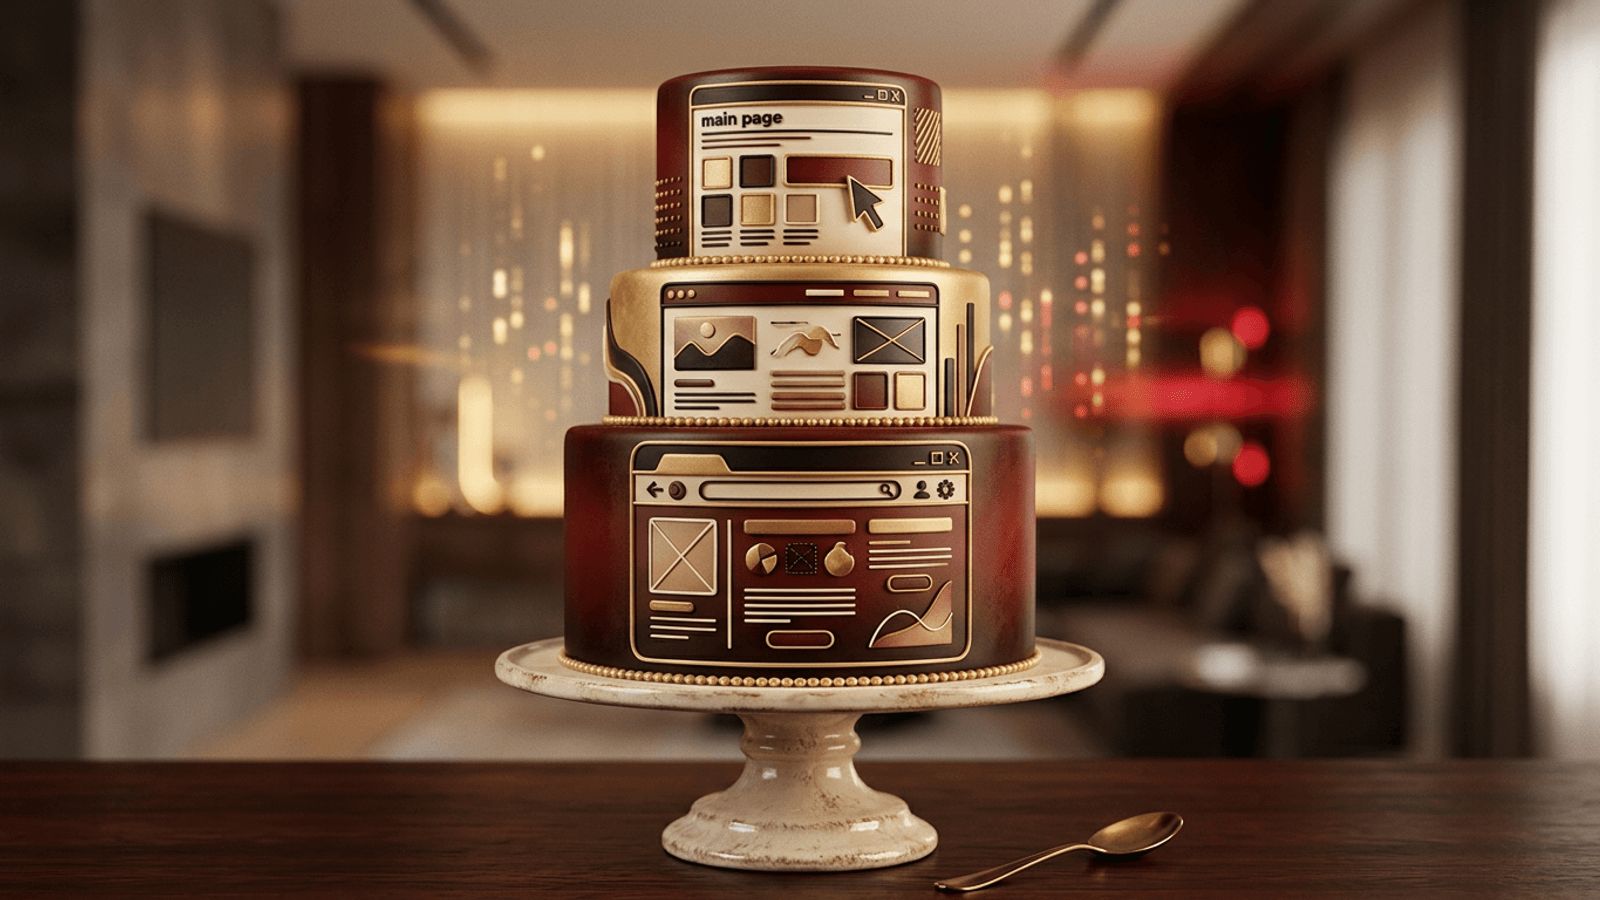
Celebrating a website launch, a developer's birthday, or a company anniversary calls for something more creative than a plain sponge with a few candles. A cake decorated to look like a web design is playful, personal, and instantly recognizable to anyone who works in tech. With fondant, edible printing, piping, and some careful planning, you can turn a familiar browser window, a homepage layout, or even a block of code into a dessert that everyone will want to photograph before it gets sliced. This guide explains how to plan, build, and decorate a web design cake step by step, whether you are a home baker or a professional cake artist taking on a tech-themed order.
Bring Your Real Web Design to Life with AAMAX.CO
A cake can celebrate a website, but the website itself deserves just as much craftsmanship. If you are launching a new brand, bakery, or online business and want a site worth celebrating, AAMAX.CO is a full service digital marketing company that offers web development, digital marketing, and SEO services worldwide. Their team creates polished, conversion-focused layouts through professional website design, and they handle everything from visual identity to responsive development, so the site you are toasting with cake actually performs for your business. Many bakeries and creative studios work with them to build portfolios and online ordering experiences that showcase products as beautifully as a finished cake.
Choose the Web Design Concept
Start by deciding what the cake should represent. Popular concepts include a browser window with the address bar, tabs, and close buttons on top; a replica of the actual homepage being launched; a laptop or monitor shape displaying a website; a stack of code snippets for a developer; or a wireframe with grey blocks and placeholder icons for a designer. If the cake celebrates a specific project, ask for a screenshot of the homepage and simplify it into its key elements: the navigation bar, hero image, headline area, and one or two content blocks. Trying to recreate every detail usually makes the design cluttered, so focus on what makes the layout recognizable.
Plan the Shape and Size
Most website designs are rectangular, so a sheet cake or a rectangular layered cake is the natural choice. A 9 by 13 inch sheet works well for a browser window, while a two-tier cake can show a monitor on the bottom tier and a mobile phone on top to represent responsive design. For a laptop shape, bake a thin rectangular base for the keyboard and stand a second thin cake or a fondant-covered board upright as the screen, supported by dowels. Sketch the layout on paper at full scale before baking so you can measure where each element will go.
Gather Tools and Ingredients
You will need a sturdy cake recipe such as a dense vanilla, chocolate mud, or pound cake that holds clean edges, plus buttercream or ganache for crumb coating. For decoration, prepare white, grey, and brand-colored fondant, gel food coloring, an edible ink printer or edible image sheets if available, piping bags with fine round tips, a sharp craft knife, rulers, square and circle cutters, and food-safe brushes. Edible luster dust can add a subtle glow that mimics a screen. If you plan to include a logo, order an edible print from a local bakery supply shop or print one yourself with an edible ink printer.
Prepare and Cover the Cake
Bake the layers, let them cool completely, and level them with a serrated knife. Fill and stack the layers, then apply a thin crumb coat and chill for at least thirty minutes. Add a second, smoother layer of buttercream or ganache, using a bench scraper to get sharp corners, because crisp edges sell the illusion of a digital interface. Roll out white or light grey fondant to about an eighth of an inch thick and drape it over the cake, smoothing from the center outward. Trim the base neatly and let the fondant firm up slightly before adding details.
Decorate the Browser and Layout Elements
Begin with the browser frame. Cut a long strip of dark grey fondant for the top bar and place it across the upper edge of the cake. Add three small circles in red, yellow, and green on the left to mimic window controls, then a long, thin rounded rectangle in white for the address bar. Pipe a simple domain name inside with a fine tip, or use edible marker for cleaner lettering.
Next, build the page content. Use a large rectangle of colored fondant or an edible print for the hero image, and thin fondant strips for headlines and paragraphs. Small squares can represent product cards or service tiles. A navigation bar can be made from a slim strip with tiny piped menu items. Keep spacing consistent, just as a real designer would follow a grid; using a ruler and a toothpick to mark guidelines helps everything line up.
Add Finishing Touches That Delight Tech Fans
Small details make the cake memorable. A fondant mouse cursor or a hand pointer placed over a call-to-action button adds a witty touch. A loading spinner made of piped dots, a tiny Wi-Fi icon, or a fondant coffee mug beside the laptop all fit the theme. For developers, pipe colorful lines that resemble syntax-highlighted code on a dark fondant panel. Brush a little edible shimmer across the screen area to create a soft glow, and finish the base with a piped border in the brand's colors.
Tips for a Clean, Professional Result
Work in a cool room so fondant does not sweat, and keep pieces you are not using covered to prevent drying. Attach decorations with a tiny amount of water or edible glue rather than heavy buttercream, which can bulge. Plan the color palette in advance using the brand's actual colors so the cake feels authentic. If the design includes text, keep it short; a headline and a button label are usually enough. Finally, photograph the cake in natural light before serving, because a website cake makes perfect social media content for a launch announcement.
Conclusion
Making a web design on cake combines baking skill with the same principles that guide good interface design: a clear layout, consistent spacing, a limited color palette, and a focal point that draws the eye. By choosing a simple concept, planning the layout at scale, and building it with crisp fondant elements and thoughtful details, you can create a centerpiece that celebrates any digital milestone. And once the cake is gone, make sure the website it honors is just as impressive, built with the care and expertise of a team that understands both design and performance.
