

Animated banners and interactive content capture attention in ways static images cannot. Google Web Designer is a free application that helps designers and marketers create HTML5-based ads, animations, and interactive experiences without writing code from scratch. It is particularly popular for building display ads for Google Ads and Display and Video 360. If you want to learn how to use Google Web Designer, this guide will take you from your first project to a published, polished creative.
We will cover installation, project setup, the interface, animation modes, interactivity, responsive design, components, and publishing options, along with tips for better performance.
Elevate Your Digital Presence With AAMAX.CO
Engaging ads perform best when they lead to equally compelling websites. AAMAX.CO is a full-service digital marketing company offering web development, digital marketing, and SEO services worldwide. Their team creates cohesive campaigns, from interactive ad creatives to high-converting landing pages and complete websites. Businesses that want their marketing and online presence to work together seamlessly can rely on their website design and digital marketing expertise.
What Is Google Web Designer?
Google Web Designer is a desktop application for Windows, macOS, and Linux that produces HTML5, CSS, and JavaScript output. It combines a visual design canvas with animation timelines and an optional code view. Because the output is web-standard code, creatives work across modern browsers and devices without plugins.
Step 1: Install and Launch the Application
Download Google Web Designer from its official website and follow the installation prompts. When you open it for the first time, you will see options to create a new file or start from templates. Templates are a great way to learn, as they demonstrate common layouts and animation techniques.
Step 2: Create a New Project
Click New File and choose a project type such as Display and Video 360, Google Ads, AdMob, or a general HTML file. Select the ad dimensions, for example 300 by 250 for a medium rectangle or 728 by 90 for a leaderboard, or choose responsive sizing. Pick your animation mode: Quick mode for simple scene-based animations or Advanced mode for detailed, layer-by-layer control.
Step 3: Explore the Interface
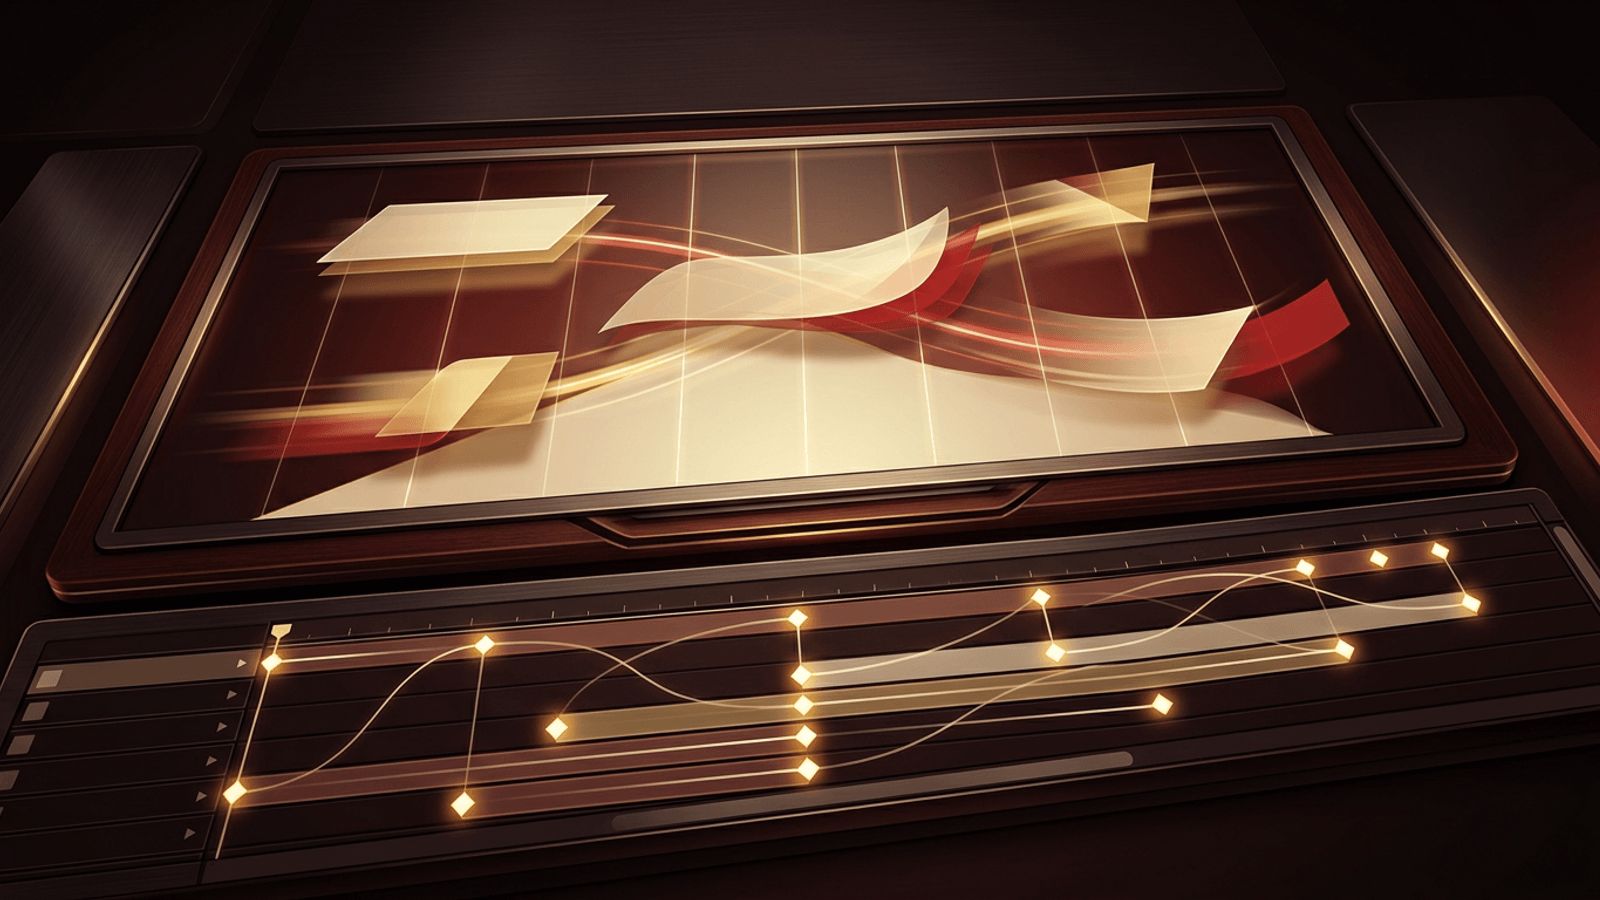
The workspace includes a toolbar with drawing and selection tools on the left, the stage in the center, panels for properties, components, and assets on the right, and a timeline at the bottom. You can switch between Design view and Code view at any time to inspect or edit the generated HTML, CSS, and JavaScript.
Step 4: Add and Style Elements
Use the tools to add shapes, text, and images to the stage. Import brand assets such as logos and product photos through the Library panel. Adjust size, position, colors, borders, shadows, and fonts using the Properties panel. Keep text concise and legible, since banner ads are viewed quickly and often on small screens.
Step 5: Animate With the Timeline
In Quick mode, you create scenes, and Google Web Designer automatically animates elements between them. In Advanced mode, each element gets its own layer on the timeline. Add keyframes at different points in time, change properties like position, opacity, scale, or rotation, and the software creates smooth transitions. Easing options make movements feel natural rather than mechanical.
Keep animations purposeful. Most ad platforms limit animation length to around 30 seconds, and the best ads communicate their message within the first few seconds.
Step 6: Add Interactivity With Events
Events make your creative respond to user actions. Use the Events panel to trigger actions on clicks, taps, hovers, or timeline milestones. For example, a click can open the advertiser's landing page, a hover can pause an animation, or a button can switch between product images. A tap area component makes it easy to define clickable regions.
Step 7: Use Components
Google Web Designer includes ready-made components such as image galleries, carousels, video players, swipeable galleries, maps, and 360-degree galleries. Drag them onto the stage and configure them through the Properties panel. Components add rich functionality without custom coding.
Step 8: Design Responsive Creatives
Responsive ads adapt to different placements and screen sizes. Use percentage-based sizing, flexible layouts, and media rules within the application to adjust layouts at different dimensions. Preview your creative at multiple sizes to ensure text and images remain balanced and readable.
Step 9: Preview and Test
Click the preview button to open your creative in a browser. Test animations, interactions, and click-through behavior on desktop and mobile devices. Check file size, since ad networks impose limits, often around 150 kilobytes for initial loads. Compress images and remove unused assets to stay within limits.
Step 10: Publish Your Creative
When your creative is ready, use the Publish option. You can publish locally, generating a zipped package for upload to Google Ads or other ad networks, or publish directly to Display and Video 360 or Google Drive for sharing. Review the validation report, which flags issues such as missing exit events or oversized files.
Tips for Better Google Web Designer Projects
- Plan your storyboard before designing to keep messaging clear.
- Use brand-consistent colors and fonts for recognition.
- Place a clear call to action that remains visible at the end of the animation.
- Optimize images with appropriate compression and dimensions.
- Test across browsers and devices before launching campaigns.
Beyond Ads: Other Uses
While best known for advertising, Google Web Designer can also create animated web elements, interactive infographics, and simple microsites. Its code output can be embedded into existing websites, making it a flexible tool for marketers and designers.
Conclusion
Learning how to use Google Web Designer enables you to create eye-catching HTML5 ads and interactive content without heavy coding. By mastering the timeline, events, components, responsive design, and publishing workflow, you can produce creatives that engage audiences and drive clicks. Pair these creatives with well-designed landing pages and websites, and your digital campaigns will deliver stronger, more measurable results.
